


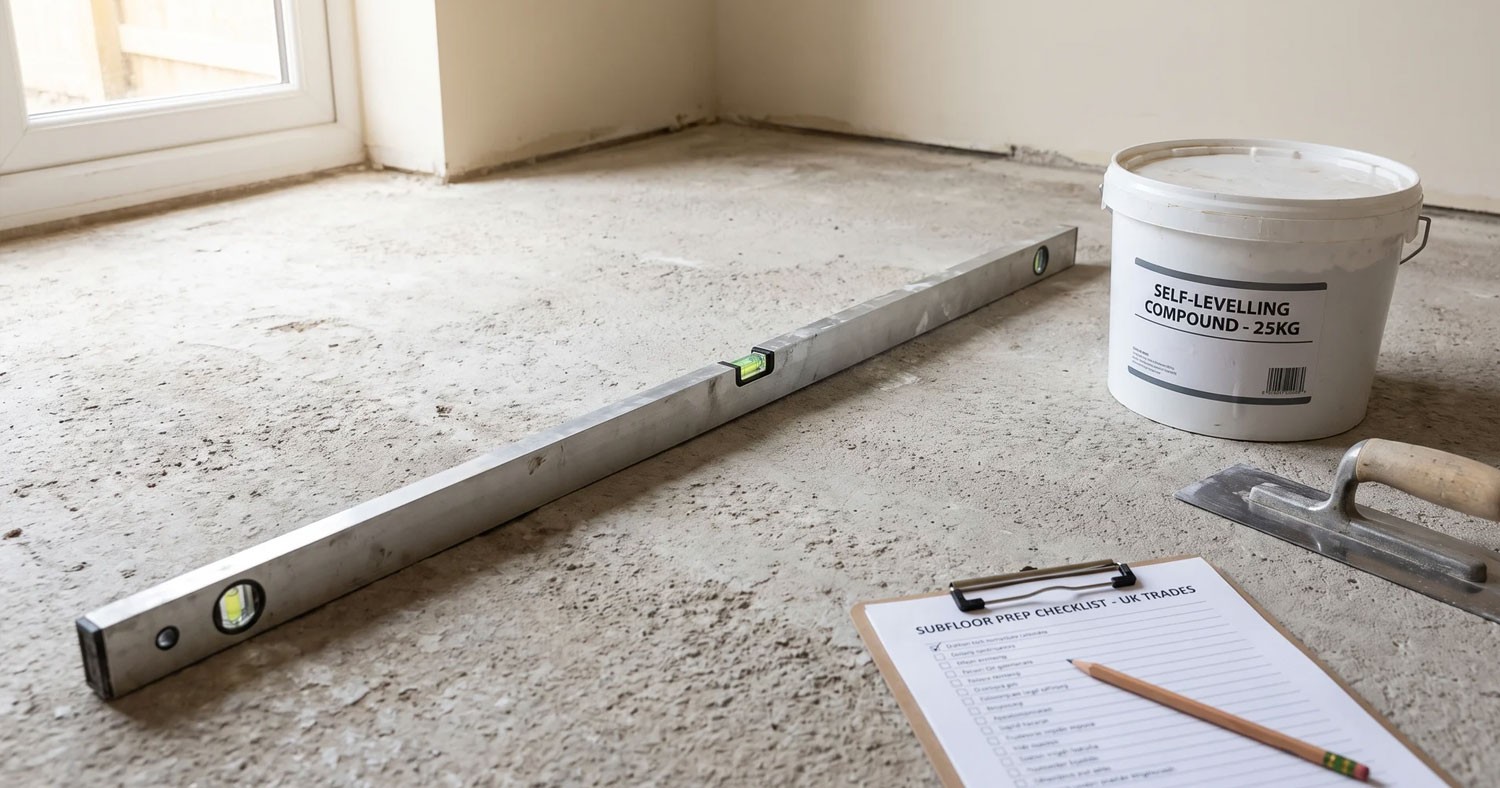
Quick answer: To prepare your home for underfloor heating, clear the rooms completely, decide between wet or electric UFH, sort out subfloor insulation, and plan for the extra floor height (which affects doors, skirting and thresholds). Choose a compatible floor finish, book a heat loss survey, and leave enough time for screed to cure before laying flooring.
Underfloor heating is one of those upgrades that feels genuinely luxurious. Warm floors on a cold morning, no clunky radiators hogging your walls, and even heat spreading through the whole room. What's not to love?
Here's the thing, though: the difference between a UFH install that goes smoothly and one that turns into a headache usually comes down to preparation. We've seen it all—doors that no longer clear the new floor, flooring booked in weeks too early, thermostats hidden behind curtains. The good news is that every one of these mishaps is avoidable.
At Pilot Light Plumbing & Heating, we design and install underfloor heating for new builds, extensions and renovations, tailored to each property. This guide walks you through exactly how to prepare your home for underfloor heating installation, so there are no nasty surprises on the day.
What type of underfloor heating should you choose?
Before any prep begins, you'll want to know which system you're dealing with, because the system you choose changes almost everything that follows. There are two main types: wet (hydronic) and electric underfloor heating.
Wet (hydronic) underfloor heating is a wet underfloor heating system in which hot water circulates through underfloor pipes laid beneath your floor, connected to a manifold and fed by your boiler or heat pump. It's the most common choice for new builds and bigger renovations, and it's usually cheaper to run over time. Because this wet system ties into your central heating system, connection usually needs professional input from a qualified heating engineer.
Electric underfloor heating covers electric underfloor heating systems that use heating mats or electric cables beneath the floor finish. It's less invasive to fit, which makes it a popular pick for single rooms like bathrooms. It's typically cheaper to install but pricier to run, and it always needs a qualified electrician for the final connection.
The system you choose affects installation costs and how disruptive installing underfloor heating will be.
So which is right for you? Choose wet underfloor heating if you're tackling a larger renovation, extension or new build and want lower running costs long-term. Choose electric underfloor heating if you're warming a single small room like a bathroom and want a simpler, quicker install. The type you pick affects your floor build-up, which trades are involved, and how long the whole underfloor heating installation takes—wet systems generally need more depth and more curing time, while electric systems are quicker but suit smaller areas.
Why does underfloor heating preparation start with the floor?
Underfloor heating preparation starts at floor level, not with the thermostat, because your subfloor and floor build-up determine whether the system works properly. It's tempting to get excited about smart thermostats and app control, but the real work happens down low.
First, your subfloor needs to be level, clean, dry and structurally sound, with the existing floor checked for cracks, structural integrity and moisture levels. Any damp or movement here will cause problems later. Check any existing damp proof membrane too, and on concrete floors you may need to install a damp proof membrane before the heating goes down. Next comes insulation—and this is not the place to cut corners. Good floor insulation, including thermal boards, sits beneath the heating layer to cut downward heat loss and push warmth up into the room rather than letting it disappear into the ground. Skimp on it, and you'll pay for it every month on your energy bills.
Fit edge insulation around the perimeter walls to limit heat loss there and allow for expansion.
Then there's floor height. A typical UFH build-up stacks up like this as part of the floor preparation: insulation, then the pipes or mats, then screed or an overlay board, and finally your chosen floor finish, all over a flat, protected floor surface. All of that adds height—sometimes quite a bit.
That extra height has knock-on effects you'll want to plan for:
- Doors may need trimming to clear the new floor level.
- Skirting boards might have to come off and go back on.
- Thresholds between rooms may need adjusting so floors meet neatly.
None of this is a dealbreaker. It's just far easier to plan for it upfront than to discover mid-project that your lovely new floor won't let the door open.
How should you plan your room layout for underfloor heating?
Plan your underfloor heating layout the same way you'd plan a kitchen: map out where fixed units and furniture will sit before the pipes or mats go down. A little forward-thinking here saves a lot of frustration. UFH pipes or mats don't need to run under fixed units like kitchen islands or built-in wardrobes—there's no point heating the inside of a cupboard.
Think about furniture too. Large rugs and low sofas that sit flush to the floor can trap heat, so it's worth mentioning your layout plans to your installer. Rooms with big south-facing windows may need a different setup to north-facing rooms that get less sun.
And don't forget the thermostats. Their locations and wiring routes are best decided early, so they end up somewhere sensible—not tucked behind a door or a curtain where they'll misread the room temperature.
Why do you need a room-by-room heat loss survey?
A heat loss survey matters because every room loses heat at a different rate depending on its size, glazing, insulation and orientation. Treating underfloor heating as one-size-fits-all is a mistake we see a lot, and a design that ignores these differences will leave some rooms toasty and others stubbornly chilly.
When we assess a property, we look at things like insulation levels, window sizes and room dimensions to work out exactly what each space needs. The result feeds into your pipe spacing, flow temperatures and zoning—the details that decide whether your system actually performs.
If you'd like us to design a system that suits your home rather than a generic template, that's exactly the kind of thing our team is here for.
How do you prepare the site before installers arrive?
To prepare your home for underfloor heating before install day, clear the rooms, lift old flooring where needed, and sort out access—the smoother the access, the smoother the job. Here's a practical checklist to run through before we arrive:
- Clear the rooms fully—furniture, rugs, boxes and anything fragile.
- Lift old flooring where it needs to come up (confirm with us who's handling this).
- Have room dimensions ready and keep a tape measure handy for checking sizes and fit before pipes or mats are positioned.
- Sort out access and parking, plus any keys or entry arrangements.
- Create a safe zone for valuables well away from the work area.
- Make a plan for pets and children—a UFH install involves tools, materials and wet screed, none of which mix well with curious toddlers or excitable dogs.
A clear, accessible space means our team can get straight to work and keep the project on schedule.
What are the ufh install steps from start to finish?
The typical underfloor heating installation process runs from survey and design through to a gentle, gradual warm-up, with screed curing being the stage that catches most people out. Understanding the sequence takes a lot of the mystery out of the process. Here's the high-level version:
- Survey and design sign-off
- Subfloor preparation and insulation
- Laying and fixing the underfloor pipes or heating mats
- Positioning the manifold and making connections, with all the pipework connected back to the manifold on wet systems
- A pressure test for wet systems or final electrical connections and testing for electric systems
- Laying screed over tested wet systems, or fitting an overlay, if needed
- Allowing the screed to dry and cure—this bit is critical
- Installing your final floor finish
- Commissioning, balancing and setting up thermostats
- A gentle, gradual warm-up to support system performance and even heat distribution
A qualified plumber normally handles wet-system testing and connection, while a qualified electrician completes electric final connections before the underfloor heating installed is commissioned.
That drying and warm-up stage catches people out most. Screed needs time. A liquid screed, for example, can take around a week before tiling and up to 28 days before solid wood or laminate goes down. When you do fire the system up, it should start low and increase by just a few degrees a day. Rush it, and you risk cracks. Patience genuinely pays here.
What flooring works best with underfloor heating?
stone and ceramic tiles are the best flooring for underfloor heating thanks to their excellent heat conductivity, though engineered wood, LVT and laminate all work well too. Your floor finish makes a real difference to how well the system performs. Across different floor coverings, some materials allow better heat transfer, while others act like a cosy blanket sitting on top, trapping the warmth you've paid for.
- Tiles and stone: The gold standard. They conduct and hold heat brilliantly, and ceramic tiles suit bathrooms and kitchens. Tiled floors also work especially well where you want fast, even warmth.
- Engineered wood: Copes with heat cycling far better than solid wood, which can warp. Leave an expansion gap around the room.
- LVT and laminate: Both can be compatible with underfloor heating if you follow the manufacturer's guidance. Laminate flooring usually needs an expansion gap of around 1.5cm. Vinyl flooring should also be suitable for the system and not too thick, so it does not reduce heat transfer.
- Carpet: Possible, but keep the combined tog rating of carpet and underlay low (generally no more than 2.5 tog), or the heat won't get through.
The golden rule? Ask before you buy. Checking upfront that your floor coverings are compatible with underfloor heating saves you from an expensive flooring mistake.
How does underfloor heating fit with the rest of your heating system?
Underfloor heating rarely lives in isolation, and it pairs happily with radiators and modern heat sources when the controls are set up correctly. Plenty of homes run UFH downstairs and radiators upstairs, which works perfectly well—it just needs the right controls so each can operate on its own zone.
Your heat source matters too. Underfloor heating runs at lower flow temperatures than radiators, which is why it pairs so efficiently with an air source heat pump. If you're using a combi boiler, a two-port valve usually lets your radiators and UFH run independently.
Because we handle boilers, heat pumps and wider heating work alongside underfloor heating, we can make sure the whole system is coordinated properly rather than cobbled together.
What are the most common underfloor heating prep mistakes?
The most common underfloor heating prep mistakes are ignoring floor height and booking flooring before the screed has cured—both easily avoided with a bit of planning. We've picked up a few favourites over the years:
- Ignoring floor height until the door won't open.
- Booking flooring too early, before the screed has cured.
- Forgetting thresholds, doors and skirting in the planning.
- Hiding thermostats behind curtains or in cold corners.
- Underestimating disruption—screed curing isn't instant.
- Not confirming who removes and disposes of old flooring.
Every single one is easy to avoid with a bit of planning and a quick chat before work begins.
Frequently asked questions
How long does an underfloor heating installation take?
The hands-on fitting for a single room often takes one to two days. The installation process usually takes longer for a wet system because of the pipework, screed, and curing time, while electric systems are generally quicker. Larger projects take longer, and you'll need to factor in screed drying time, which can run from one to several weeks before flooring goes down.
Can I stay in my home during the installation?
In most cases, yes—especially for room-by-room work. That said, expect some disruption, restricted access to certain areas, and a curing period where you can't use the floors. We'll always talk you through what to expect.
Do I need to remove my existing flooring first?
Usually the old flooring needs to come up so we can prepare the subfloor and add insulation.
What's the best flooring to use with underfloor heating?
Stone and ceramic tiles are the top performers thanks to their excellent heat conductivity. Engineered wood, LVT, vinyl flooring, and laminate flooring all work well too—just make sure each option is suitable for UFH and not too thick, and use low-tog carpet if you go soft underfoot.
Will underfloor heating raise my floor height?
Yes. The insulation, pipes or mats, screed and finish all add height. That's why planning for doors, skirting and thresholds early is so important.
Is underfloor heating suitable for renovations, or just new builds?
Both. We design and install UFH for new builds, extensions and renovations, tailoring the approach to your property and its existing build-up.
Does underfloor heating work with my existing boiler?
Often, yes. Wet underfloor heating works well with combi boilers, usually with a two-port valve so your radiators and UFH run independently. As a Gas Safe registered team, we can advise on the best setup for your system.
When can I turn the heating on after screeding?
Not straight away. Screed needs to cure first—typically at least a week, sometimes longer. When you do switch on, start at a low temperature and increase gradually by a few degrees each day to avoid cracking.
Is electric or wet underfloor heating better for my home?
Choose electric UFH if you're heating a single small room like a bathroom and want a simpler install. Choose wet UFH if you're doing a larger renovation, extension or new build and want lower running costs over time.
Does underfloor heating cost more to run than radiators?
Not necessarily. Wet underfloor heating usually runs more efficiently than radiators because it works at lower flow temperatures, especially when paired with a heat pump. Electric underfloor heating costs more to run, which is why it's better suited to small rooms rather than whole homes.
Can underfloor heating be your only source of heat?
In a well-insulated home, yes—wet underfloor heating can comfortably act as the sole heat source. In older or poorly insulated properties, it may need supporting with radiators, which is why a heat loss survey is so important before you commit.
Do you cover my area in Essex?
We serve homes across Essex and the surrounding region from our base in Rochford. If you're not sure whether we reach your postcode, just get in touch and ask.
Ready to get your floors warm the right way?
Underfloor heating is a fantastic upgrade—but a little preparation is what turns it from a stressful project into a genuinely enjoyable one. Get the floor build-up, flooring choice and timings right, and you'll be rewarded with even, efficient warmth for years to come.
If you'd like us to sanity-check your plans (and save you from the classic floor-height surprise), we'd love to help. Our team can advise on suitability, design a system tailored to your home, and install it with the tidy, reliable workmanship our customers rave about.
Get in touch today get a quote or contact us to find out more about our underfloor heating service.


